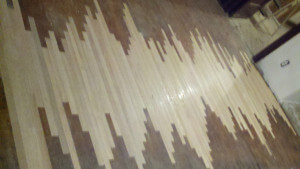
 Hardwood floor repair and patches are needed in the most severe cases of damage. This type of damage can be caused by a variety of things, such as deep gauges in the flooring, extreme water damage and animal urine stains. Other reasons for patching includes room construction changes, such as the removal of a wall (see the picture to the right for a wall patch repair — this “monster patch” was once a 12 foot wall!).
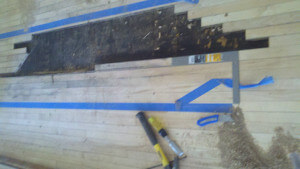
When beginning work on a patch, we first segment out the part of the hardwood floor in which the damaged boards need to be removed. These boards are removed by using a circular “skill” saw and wonder bar. We rip the length of the board twice, pulling out the center and collapsing the edges. This allows the tongue and groove of the board to come out.
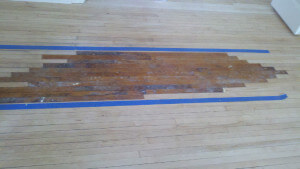 Once all the damaged wood has been removed, we begin replacing the wood with its matching, reclaimed wood. Reclaimed wood is wood that was in either a different part of the home or in a different home entirely. We use reclaimed wood because patching with new wood would announce itself as a patch. This is particularly true for maple hardwood flooring.
In addition to using reclaimed hardwood, it’s important that the butt joints of the flooring are staggered and woven into the existing floor, so that it blends with the existing wood and does not obviously identify itself as a patch.
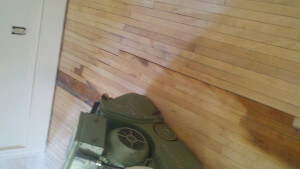 After the reclaimed wood boards have been installed, we take to the floor with a large belt sander. The sanding process we use on patching is known as cross sanding. This will level the patch to the same height as the existing floor, and once finished, will be unidentifiable as a patch.
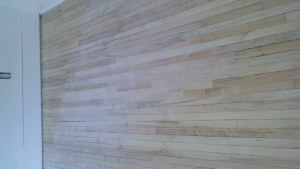 Here the patch is fully sanding and ready to be finished. As you can from the picture to the right, the reclaimed material has been seamlessly installed and matches the existing floor as though it had all been installed together.
Click here to visit our hardwood floor refinishing page to see how we complete the finishing process.